
기록방
8장 : 게시글 삭제하기: Delet 본문
길벗 IT도서에서 주관하는 코딩 자율학습단 8기 : Spring Boot 파트에 참여한 기록입니다 [ 목록 ]
8.1 데이터 삭제 과정
- 클라이언트가 HTTP 메서드로 특정 게시글의 삭제 요청
- 삭제 요청을 받은 컨트롤러는 리포지토리를 통해 DB에 저장된 데이터를 찾아 삭제
- 삭제가 완료됐다면 클라이언트를 결과 페이지로 리다이렉트
- 삭제 완료 메시지를 띄워주기 위한
RedirectAttributes클래스의addFlashAttribute()메서드 - 리다이렉트 된 페이지에서 사용할 일회성 데이터 등록
- 삭제 완료 메시지를 띄워주기 위한
8.2 데이터 삭제하기
8.2.1 Delete 버튼 추가하기
{{>layouts/header}}

<table class="table">
    <thead>
    <tr>
        <th scope="col">Id</th>
        <th scope="col">Title</th>
        <th scope="col">Content</th>
    </tr>
    </thead>
    <tbody>
    {{#article}}
    <tr>
        <th>{{id}}</th>
        <td>{{title}}</td>
        <td>{{content}}</td>
    </tr>
    {{/article}}
    </tbody>
</table>

<a href="/articles/{{article.id}}/edit" class="btn btn-primary">Edit</a>
<a href="/articles/{{article.id}}/delete" class="btn btn-danger">Delete</a>
<a href="/articles">Go to Articles List</a>

{{>layouts/footer}}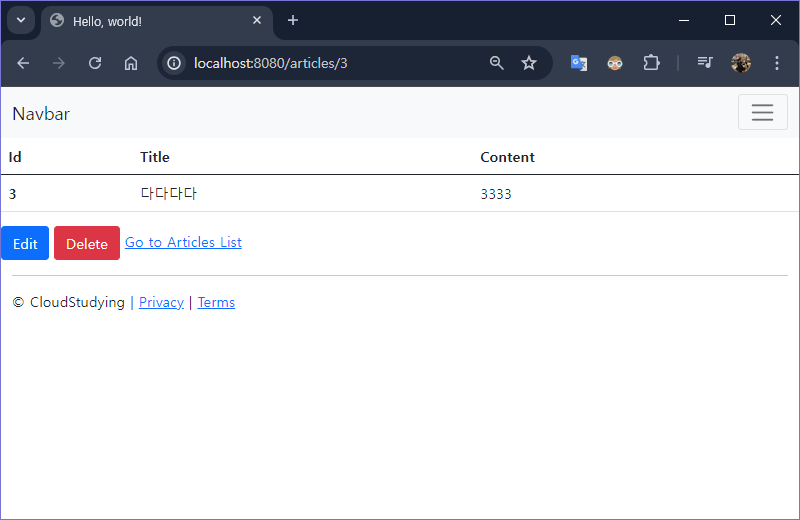
8.2.2 Delete 요청을 받아 데이터 삭제하기
@GetMapping("/articles/{id}/delete")
public String delete(@PathVariable Long id) {
    log.info("삭제 요청이 들어왔습니다!!");
    // 1. 삭제할 대상 가져오기
    Article target = articleRepository.findById(id).orElse(null);
    log.info(target.toString());

    // 2. 대상 엔티티 삭제하기
    if (target != null) {
        articleRepository.delete(target);
    }
    // 3. 결과 페이지로 리다이렉트하기
    return "redirect:/articles";
}
8.2.2 Delete 요청을 받아 데이터 삭제하기
@GetMapping("/articles/{id}/delete")
public String delete(@PathVariable Long id, **RedirectAttributes rttr**) {
    log.info("삭제 요청이 들어왔습니다!!");
    // 1. 삭제할 대상 가져오기
    Article target = articleRepository.findById(id).orElse(null);
    log.info(target.toString());

    // 2. 대상 엔티티 삭제하기
    if (target != null) {
        articleRepository.delete(target);
        **rttr.addFlashAttribute("msg","삭제됐습니다!");**
    }
    // 3. 결과 페이지로 리다이렉트하기
    return "redirect:/articles";
}RedirectAttributes를 이용해 리다이렉트 페이지에 일회성 데이터를 전달delete()메서드의 매개 변수로 받아와야 함
8.2.3 삭제 완료 메시지 넘기기
{{#msg}}
<div class="alert alert-primary alert-dismissible">
    {{msg}}
    <button type="button" class="btn-close" data-bs-dismiss="alert" aria-label="Close"></button>
</div>
{{/msg}}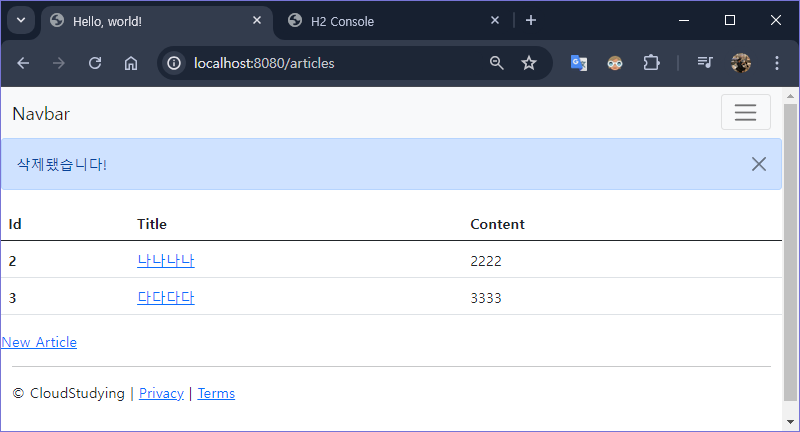
8.2.4 SQL 문으로 직접 DB 삭제하기
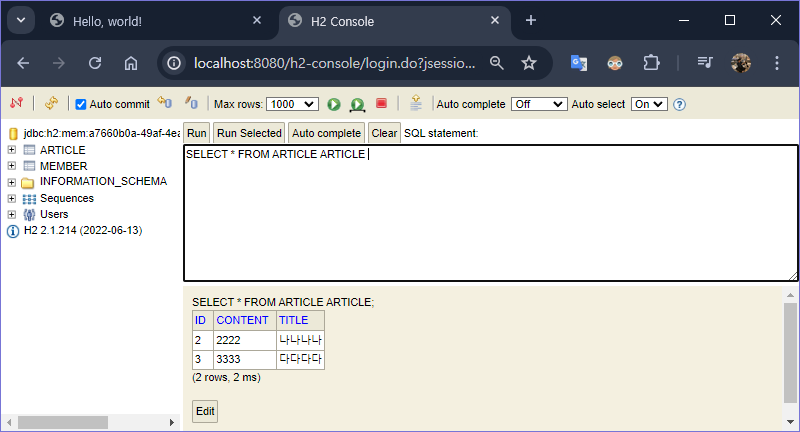
DELETE article WHERE id = 3;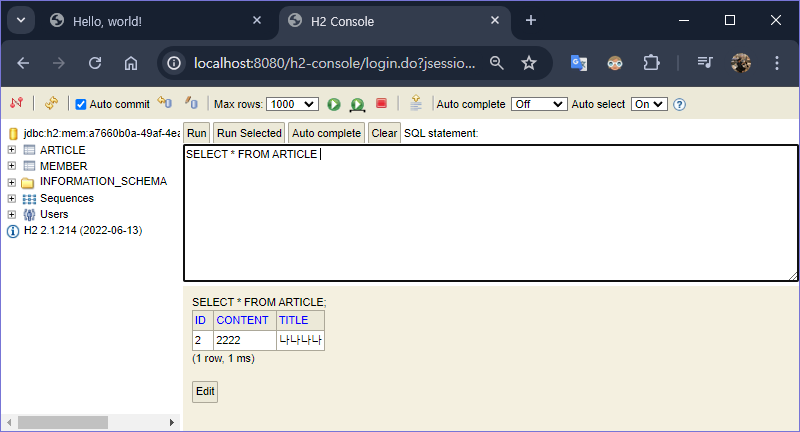
8.2.5 최종 정리
- 삭제 요청은 컨트롤러의
delete()매서드에서@GetMapping으로 받음 (HTML에서는@DeleteMapping으로받을 수 없기 때문) - 삭제 대상의 id를 위해
@PathVariable사용 - DB 내부에서는 DELETE라는 SQL문이 자동 수행
- 삭제 작업 후에는 결과 페이지로 리다이렉트
- 삭제 메시지도 함께 출력하기 위해
RedirectAttributes클래스의addFlashAttribute()메서드 사용 - 리다이렉트 시점에 사용할 휘발성 데이터 등록
- 삭제 메시지도 함께 출력하기 위해
🚀 1분 퀴즈
- 다음 중 옳지 않은 것을 고르세요.
- HTTP는 POST, GET, PATCH(PUT), DELETE 등의 다양한 메서드를 제공한다.
- 데이터 삭제 요청은 반드시 HTTP의 DELETE 메서드로만 할 수 있다.
- @PathVariable은 클라이언트의 요청 중 특정 URL 값을 매개변수로 가져온다.
- CrudRepository는 데이터 삭제를 위해 delete() 메서드를 제공한다.
- RedirectAttributes 객체를 활용하면 리다이렉트 페이지에서 사용할 일회성 데이터를 등록할 수 있다.
- ⇒ b. 예제에서는 GET 메서드로 삭제 요청을 사용했다.
✅ 셀프 체크
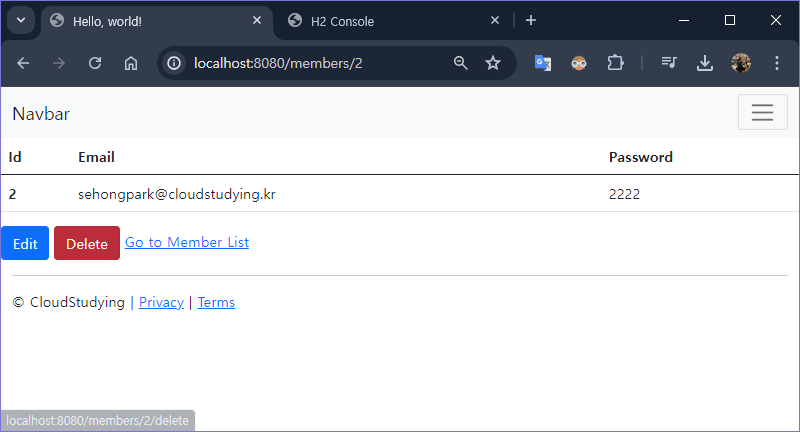
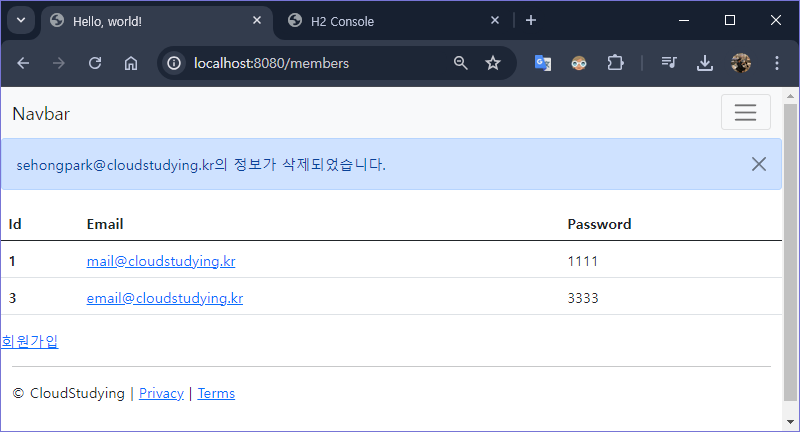
Membe 게시판에 회원 정보 삭제 기능 추가하기
@GetMapping("/members/{id}/delete")
public String delete(@PathVariable Long id, RedirectAttributes redirectAttributes) {
    log.info("사용자 정보 삭제 요청 들어옴!!");
    Member memberEntity = memberRepository.findById(id).orElse(null);
    if (memberEntity != null) {
        memberRepository.delete(memberEntity);
        redirectAttributes.addFlashAttribute("msg", memberEntity.getEmail()+"의 정보가 삭제되었습니다.");
    }
    return "redirect:/members";
}
{{>layouts/header}}
<table class="table">
<thead>
<tr>
<th scope="col">Id</th>
<th scope="col">Email</th>
<th scope="col">Password</th>
</tr>
</thead>
<tbody>
{{#member}}
<tr>
<th>{{id}}</th>
<td>{{email}}</td>
<td>{{password}}</td>
</tr>
{{/member}}
</tbody>
</table>
<a href="/members/{{member.id}}/edit" class="btn btn-primary">Edit</a>
**<a href="/members/{{member.id}}/delete" class="btn btn-danger">Delete</a>**
<a href="/members">Go to Member List</a>
{{>layouts/footer}}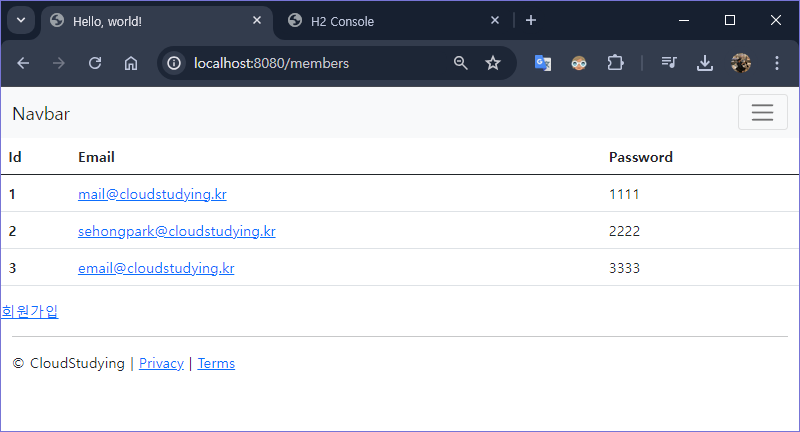
🏓 더 알아 볼 내용
1. JPA Repository delete
- 책에서는
delete()메서드를 사용해 객체를 삭제 - 데이터를 삭제하는 방법은
delete()메서드 외에도 다양한 방법이 존재 - 그중에서 많이 사용되는
deleteById()메서드
/**

* Deletes the entity with the given id.
* <p>
* If the entity is not found in the persistence store it is silently ignored.
*
* @param id must not be {@literal null}.
* @throws IllegalArgumentException in case the given {@literal id} is {@literal null}
*/
void deleteById(ID id);- 주어진 id 값을 가진 데이터가 존재하지 않을 경우 조용히 무시
- 해당 id의 데이터가 없어도 에러를 던지지 않음
- 책에서
deleteById()메서드를 사용하지 않고delete()메서드를 사용한 이유- 왜냐하면 이렇게 null 체크를 하기 때문
Article target = articleRepository.findBiyId(id).orElse(null); if(target != null) { articleRepository.delete(target); }- null 체크를 하는 이유는 우리가 원하는 행동이 정확한 ‘삭제’이기 때문
- 그런데
deleteById()메서드를 사용하면 최악의 경우 나도 모르는 사이 삭제가 이루어지지 않을 수 있음
2. 204 응답
delete()메서드와 함께 따라오는 응답 :204 No Content- 204는 200번 대 응답으로, ‘요청은 정상적으로 이루어졌으나 콘텐츠는 제공하지 않는다.’는 의미
- 삭제된 데이터는 더 이상 유효한 데이터가 아니기 때문에 응답으로 내려주지 않는 게 좋음
- 또한 JPA의
delete()메서드의 리턴 타입이 void
- 204 응답에 대해 자세히 알고 싶다면 아래 문서를 참고
728x90
'FrameWork > Spring' 카테고리의 다른 글
| 10장 : REST API와 JSON (0) | 2024.06.23 |
|---|---|
| 9장 : CRUD와 SQL 쿼리 종합 (0) | 2024.06.22 |
| 7장 : 게시글 수정하기: Update (0) | 2024.03.29 |
| 6장 : 게시판 내 페이지 이동하기 (0) | 2024.03.29 |
| 5장 : 게시글 읽기: Read (0) | 2024.03.29 |
'FrameWork/Spring' Related Articles
more


